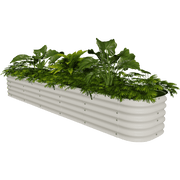
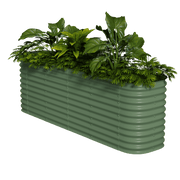
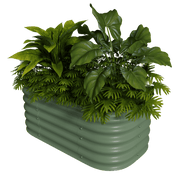
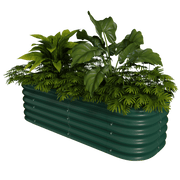
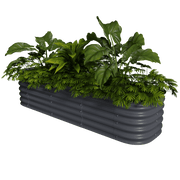
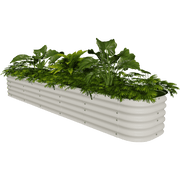
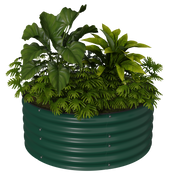
These raised beds are such a terrific upgrade from my fabric grow bags.I did not have a huge amount of sunshine space due to my neighbors trees and the need for protecting crops from wildlife but I found a variety of sizes to fit the space I have. Assembly was easy! When taking the protective film off just take your time and be careful of the sharp corners. All the bolts washers and nuts were well packaged and if you separate everything into a muffin tin you won’t be chasing them all over the place. The included wrench has a nice L shape and good grip. While you are putting it together make sure to leave the rubber gasket in the sun to make it easier to install along the top edge. Also be consistent with your overlapping one panel to the next. I was very happy to have the center support rods included bc dirt will push out the middle When installing the gasket across the seams you need a small flat head screwdriver to open the gasket up a tad due to the double thickness of the aluminum but it’s not hard. These are deep raised beds so use that hugelkultur method of layering your branches sticks twigs leaves and dirt. Be prepared! I ordered bulk organic soil compost from my local supplier. It’s heavy moving dirt and definitely a work out! I set up drip irrigation and some string trellising to really up my game. A few months into it and it was all worth it. We’ve been eating everything we’ve grown… lettuce, snap peas, scallions, tomatoes, cucumbers, bush beans, several varieties of squashes and I have some ice box watermelons and cantaloupes coming along.


